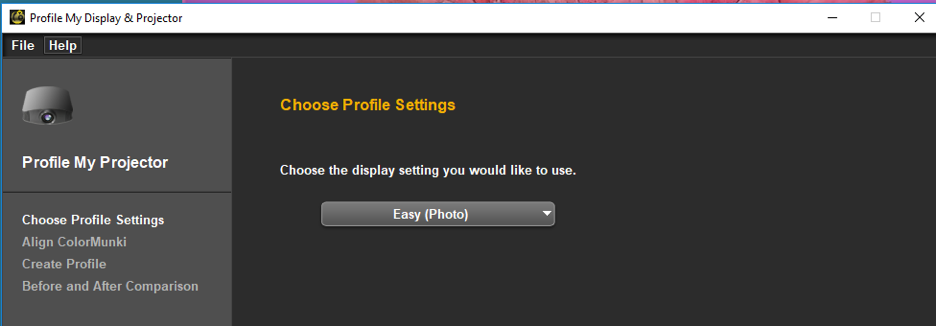
The Colormunki worked when the PC display was set to second screen only (use function f4) and we followed the procedure for ‘Unable to set LUT” below.
Unable to set LUTs Error With ColorMunki
Customer might have one or more of the following symptoms:
- “Unable to set LUT” error
- Another LUT-related error message
- Programs closes when creating or saving the profile
The “Unable to set LUTs” error when trying to create a monitor profile can be caused by a combination of things. First, check to see if the computer display’s menu has “DDC” or “DDC/CI” enabled or turned on. If so, disable it or turn it off in the display’s menu.
Furthermore, we would recommend unchecking “Enale DDC” or “Enable ADC” (Automatic Display Calibration) and not using the video LUTs to adjust brightness by opening the ColorMunki “preferences” window.
Follow these instructions off:
- On a Mac…go to “ColorMunki…” in the menu bar and click on “Preferences”. On a PC…go to “File” and click on “Preferences”.
- Uncheck “Achieve display luminance value using video LUTs” and “Enable ADC” or “Enable DDC Calibration”.
- Click “OK” to save these settings and close the “Preferences” window. When saving the profile, save it with a unique name (i.e., add the month and year before the extension). Overwriting a previous profile with the same name can often cause a LUT error.
- Close ColorMunki program, reboot the computer, and try profiling after the computer has restarted
Also we used the easy setting:

Note how the calibration profile is used:
Windows
Windows sees the laptop and projector as a single display. ColorMunki will be shown on both the laptop display and the projector simultaneously. Once the profile has been built, it will be set as the default profile for both the laptop display and the projector. When you have finished using the projector you will need to disconnect the projector and re-profile your laptop display.
